Getting Started
Getting Started
EzClap is built around automation, which means the goal is simple: set it up once, then let it do the repetitive work for you.
This guide walks you through the main parts of the initial setup so your Twitch clips can move smoothly from stream to short-form content.
1. Connect your accounts

The first step is connecting the accounts EzClap needs to do its job.
Start by linking your Twitch account — it's also your EzClap login, so there is no separate password. Then connect the social platforms where you want your finished videos to go: TikTok and/or YouTube, from the auto-publish page.
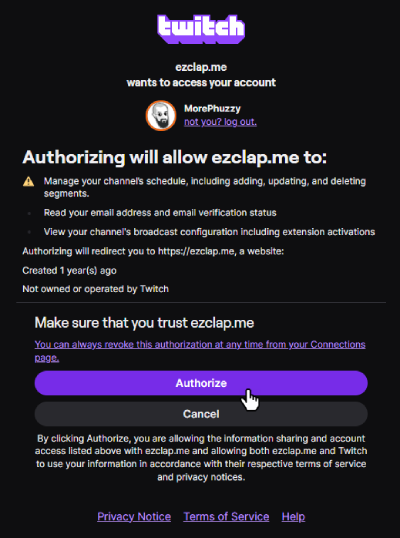
Once these accounts are connected, EzClap can detect new clips, process them, and publish them to your selected platforms. See connecting your Twitch account for exactly what data EzClap accesses.
2. Decide whose clips get processed
Anyone who streams knows chat can clip all kinds of weird things, and not every clip should go straight into your automated workflow.
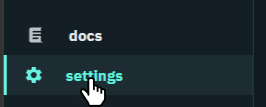
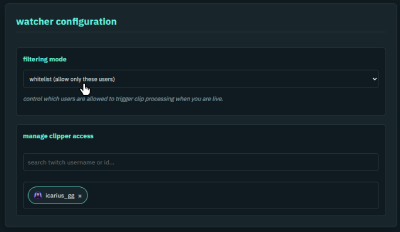
In Settings → Watcher Configuration you choose a filtering mode:
- Disabled (Process Everyone) — the default; every new clip on your channel gets processed.
- Whitelist — only clips created by users you list (you, your mods, trusted VIPs) trigger automatic processing.
- Blacklist — process everyone except the users you list.
Important note about filtering
Filtering only controls which clips get automatically processed. It does not mean other viewers' clips are blocked forever.
EzClap also includes the Super Editor, which lets you review and process any clip from your channel history manually — including user-created clips that automation skipped.
In simple terms:
- Watcher filtering = automatic processing
- Super Editor = manual review and batch processing of everything else
3. Create your video template
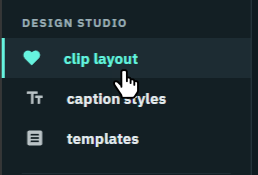
This is where you make your content look like your content — and it's required before clips can process, since every clip renders through a template.
Open the Clip Wizard and build your layout:
- where the gameplay should appear
- where your facecam should sit (top, bottom, or floating)
- your logo and branding
Then create a caption style for your subtitle fonts, colors, and text animations. Once saved, EzClap uses these as the visual structure for every future clip.
4. Assign templates by game
One of the most useful parts of the setup is that you can create different templates for different types of games.
For example:
- your facecam might sit on the left side for RPGs
- your facecam might sit on the right side for FPS games
So instead of using one layout for everything, you can match games to specific templates on the templates page: Skyrim can use your RPG template, ARC Raiders can use your FPS template.
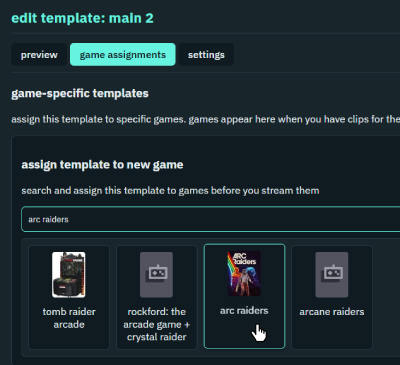
Don't worry — any game that is not assigned to a template uses your default template. You don't have to assign anything if you only have one stream overlay and facecam position.
Once setup is done, EzClap does the heavy lifting
After your accounts are connected, your filtering is set, and your templates are saved, your workflow becomes much easier. From there, EzClap can:
- detect new clips from your Twitch stream (it checks every couple of minutes)
- check whether the clip creator passes your filtering rules
- process clips using the correct template for the game
- prepare them for caption review and publishing
That is the whole point of the setup: do the work once, then let the system keep things moving.
Next step
Once your setup is complete, the next step is learning how EzClap detects clips and brings them to your dashboard — see fetching clips from Twitch, then the day-to-day loop in your workflow.